You’ve poured your heart into a YouTube video—scripted, filmed, edited, and polished. But when it’s time to upload, one question lingers: will the thumbnail get clicks? A thumbnail can make or break your video’s success, and guessing what works is a gamble. That’s where A/B testing comes in. By comparing two thumbnails to see which drives more clicks, you can optimize your click-through rate (CTR) with data, not hunches. Best of all, you don’t need to slow down your content schedule to do it. In this guide, we’ll walk you through how to A/B test YouTube thumbnails step-by-step, sharing practical tips and creator insights to keep your workflow smooth and your views climbing—all while maintaining your creative momentum.
What Is A/B Testing and Why Does It Matter?
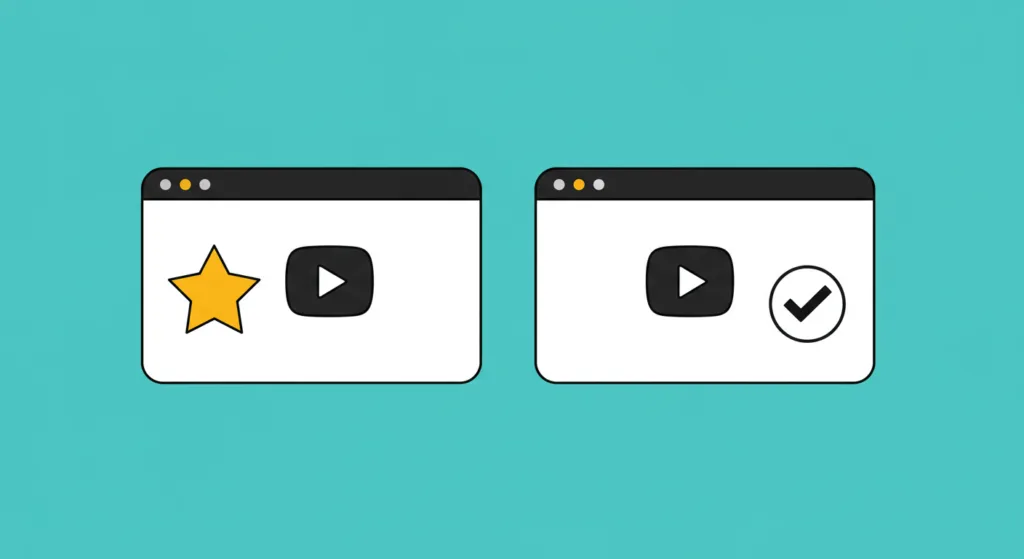
A/B testing, also known as split testing, means trying two versions of a thumbnail (or title) on the same video to see which performs better. You run one version for a set time, swap it for the other, and compare metrics like CTR in YouTube Analytics. It’s like a mini-experiment that reveals what your audience loves.
Why bother? YouTube’s algorithm thrives on engagement. A higher CTR—say, 8% instead of 3%—signals that your video grabs attention, boosting its chances of ranking in search or trending in recommendations. YouTube’s Creator Academy emphasizes that thumbnails are critical for first impressions, often deciding whether someone clicks in a split second. A/B testing takes the mystery out of design, letting you refine thumbnails without disrupting your flow. Creators like MrBeast use this method to tweak visuals, turning good videos into viral hits.
Step 1: Plan Your Test with Focus
A successful A/B test starts with a clear plan. Randomly swapping thumbnails wastes time and muddies results. Instead, decide what you’re testing and why. Focus on one variable to keep insights actionable. Here are some ideas:
- Color Scheme: Test a bright red background versus a cool blue one.
- Text vs. No Text: Compare a thumbnail with “Top 5 Tips” to one with just an image.
- Emotion: Try a smiling face versus a surprised expression.
For example, a fitness channel might test two thumbnails for a “Home Workout” video: one with a dumbbell and bold text (“Get Fit Fast!”), another with the creator mid-exercise, no text. The goal? See if text or action drives more clicks.
Choose a test duration—48 hours or 1,000 impressions works for most channels—to gather enough data without stalling. Pick videos with steady traffic, like recent uploads or evergreen content, for faster results. Planning keeps your test efficient, so you’re not stuck analyzing forever.
Tip: Write down your hypothesis (e.g., “A face will beat text”) to stay focused and learn from the outcome.
Step 2: Design Two Strong Thumbnails
A/B testing only works if both thumbnails are solid contenders. A weak design—like a blurry image or clashing colors—skews results and wastes your test. Follow YouTube’s thumbnail best practices to create two versions that shine:
- High Resolution: Use 1280×720 pixels for sharp visuals, even on mobile.
- Bold Contrast: Pair colors like yellow on black or white on red for pop. Test different combos to see what stands out.
- Clear Focus: Highlight one subject—a product, face, or action. For a cooking video, zoom in on the dish or chef, not both.
- Minimal Text: If text is part of the test, keep it short (3-5 words) and readable. Use fonts like Impact or Montserrat.
Say you’re a gaming channel testing a “Minecraft Build” video. Version A could show a stunning castle with “Epic Build!” in white text. Version B might feature the creator’s excited face against a blurred game screenshot, no text. Both should feel clickable but differ in the tested variable (text vs. emotion). Tools like Canva or Photoshop make tweaking designs quick and easy.
Tip: Preview both thumbnails at 25% size to mimic mobile view. If details vanish, simplify or boost contrast.
Step 3: Run the Test Seamlessly
You don’t need fancy software to A/B test—YouTube’s built-in tools have you covered. Here’s how to execute your test without breaking stride:
- Upload Version A: Publish your video with the first thumbnail and let it run for your planned period (e.g., 48 hours).
- Monitor Metrics: Go to YouTube Studio > Analytics > Reach to track impressions and CTR. Note Version A’s stats (e.g., 5% CTR on 2,000 impressions).
- Switch to Version B: After the test period, update the thumbnail via Studio’s “Details” tab. No need to re-upload the video—it’s a quick swap.
- Collect Data: Run Version B for the same duration, then check its CTR and impressions.
To avoid disrupting your schedule, batch test tasks. For example, swap thumbnails during a coffee break or while waiting for a render. Limit testing to one or two videos at a time so you’re not overwhelmed by data. If you’re a busy creator, automate reminders (like a calendar alert) to check results and swap designs.
Tip: Run tests during your channel’s peak traffic hours (check Analytics > Audience) for quicker, more reliable data.
Step 4: Analyze Results and Iterate
Once both thumbnails have run, compare their performance. Say Version A got a 4.8% CTR and Version B hit 6.2%. Version B wins, suggesting your audience prefers its style (e.g., faces over text). Dig deeper in YouTube Analytics—look at watch time or audience retention to ensure clicks lead to views, not bounces.
Don’t stop at one test. Apply what you learn to future thumbnails. If bright colors outperform muted ones, lean into vibrant palettes. If minimalism wins, ditch heavy text. Creators like Ali Abdaal refine thumbnails over time, using A/B tests to align visuals with audience tastes. Watch for external factors, like a trending topic skewing results, and retest if needed for clarity.
If results are close (e.g., 5% vs. 5.1%), consider secondary metrics like shares or comments to pick a winner. Log your findings in a simple spreadsheet—note the video, thumbnails, and CTR—to spot trends across tests. Over time, you’ll build a playbook for what works.
Tip: If a thumbnail underperforms, don’t scrap it. Tweak one element (like text size) and test again—it might just need a small fix.
Step 5: Keep Creativity in the Driver’s Seat
A/B testing is a tool, not a tyrant. Data shows what gets clicks, but your creative voice keeps your channel unique. If a “winning” thumbnail feels off-brand—like neon colors for a calming yoga channel—blend the insight (e.g., high contrast) with your style (soft blues). Similarly, a losing thumbnail might spark a new idea worth exploring later.
Balance testing with experimentation. Try bold variables, like a quirky prop or unusual crop, to push boundaries. Creators like Peter McKinnon mix data-driven tweaks with artistic flair, ensuring thumbnails feel both strategic and authentic. Testing should enhance your creativity, not box it in.
Tip: Ask viewers for feedback via a Community poll (“Which thumbnail style do you love?”) to blend gut instinct with data.
Bringing It All Together
A/B testing YouTube thumbnails is a powerful way to boost clicks without slowing down. By planning focused tests, designing strong visuals, running seamless experiments, analyzing data, and staying creative, you’ll craft thumbnails that pull viewers in—all while keeping your content machine humming. These steps, inspired by YouTube’s top creators, are your blueprint for smarter design decisions. Start small—test one thumbnail this week—and watch your CTR soar. With practice, you’ll turn every video into a clickable masterpiece.